
Neural networks are one technique which can be used for hanwriting recognition. Handwriting recognition application uses artificial neural network to recognize handwritten letters and transforms them into editable document (as MS Word .doc or Notepad and Wordpad .txt file). It is based on neural network that can learn to recognize more characters.
This tutorial will explain the following:
1. How to train neural networks for handwriting recognition with Neuroph Studio
2. How to use neural networks trained for handwriting recognition in your applications
Neuroph Studio provides environment for creating and training neural networks, which can be saved as ready-to-use java components. Also it provides specialised handwriting recognition tool to train neural networks for handwriting recognition. Creating and training neural network for handwriting recognition consists of the following steps:
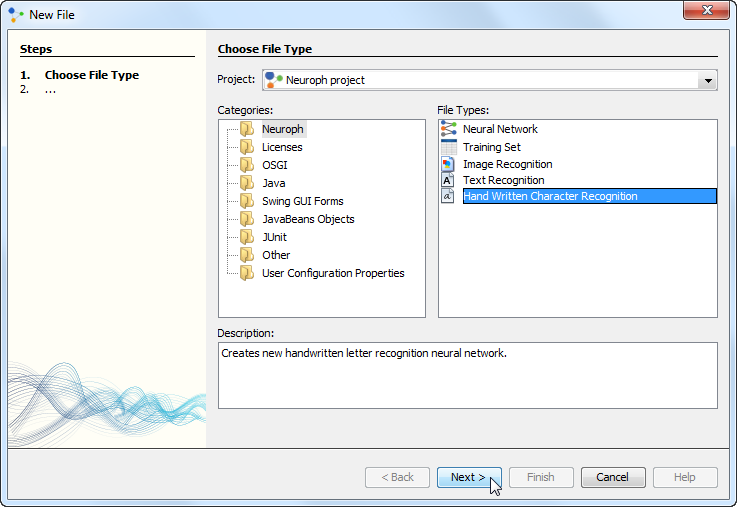
1. Draw letters which should be recognized and create training set
2. Create neural network
3. Train neural network
4. Test neural network
5. Save & deploy neural network
To start Handwriting Recognition tool choose [Main manu > Tools > Handwriting Recognition]


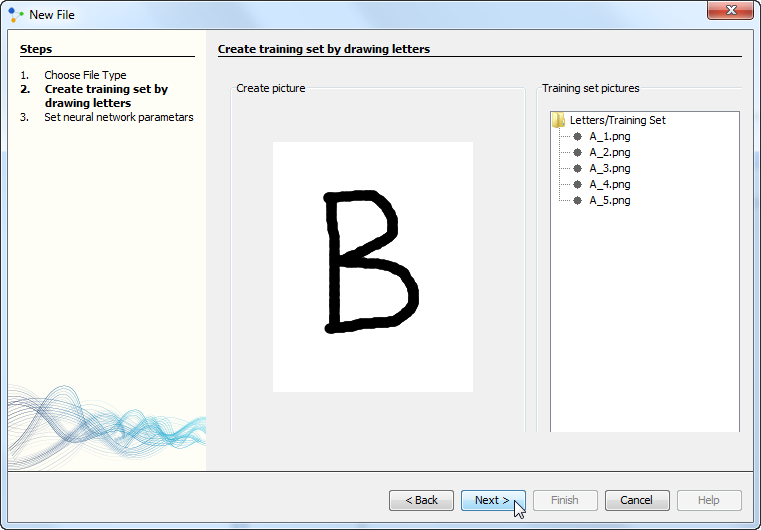
Step 1. Create Pictures
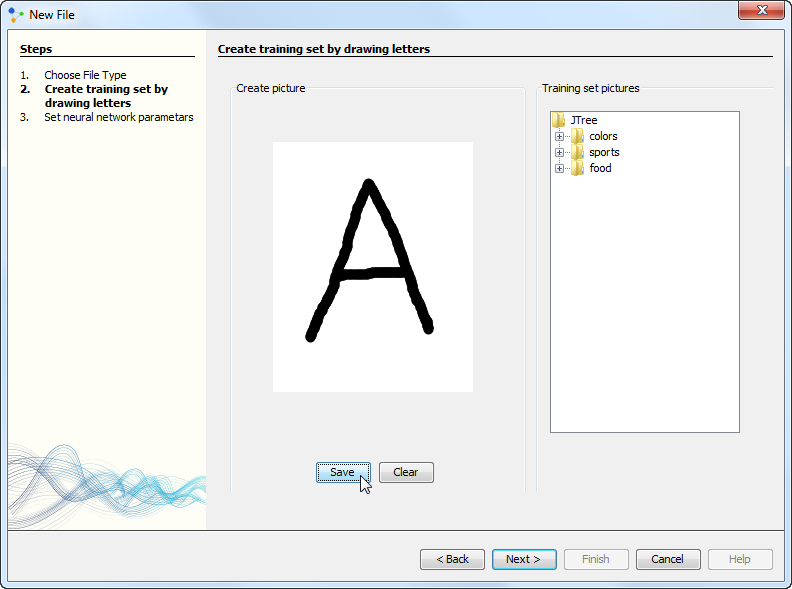
In this step we need to draw letters that should be recognized. We do this in 'Images and Training' set tab.
First drag mouse over the white area and draw the letter 'A'. When you're done with drawing click on the'Save' button
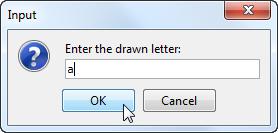
Name the drawn letter 'A' in the'Input' dialog.
This will create our first training set picture.
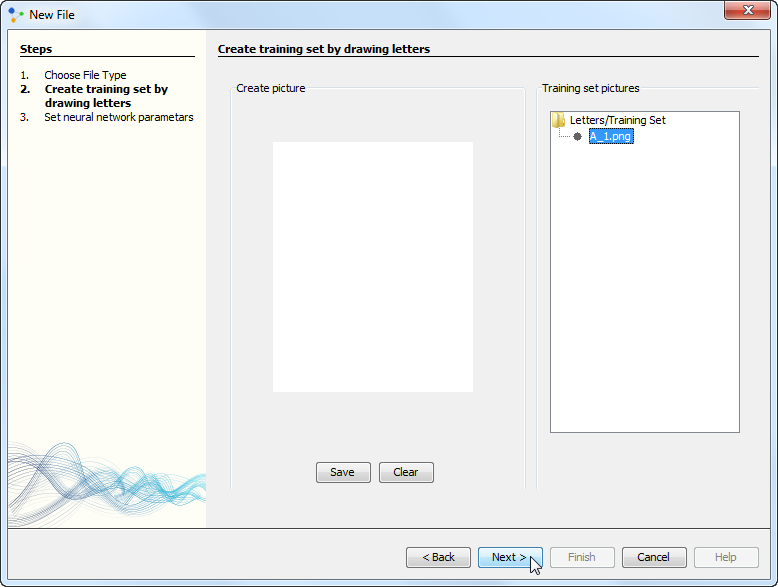
Repeat this step to draw and save the letter 'B'
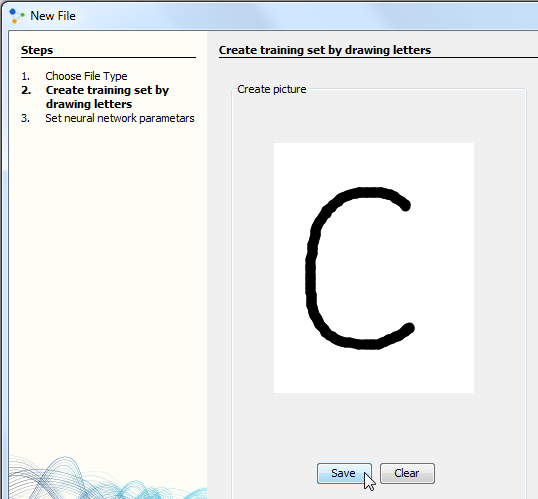
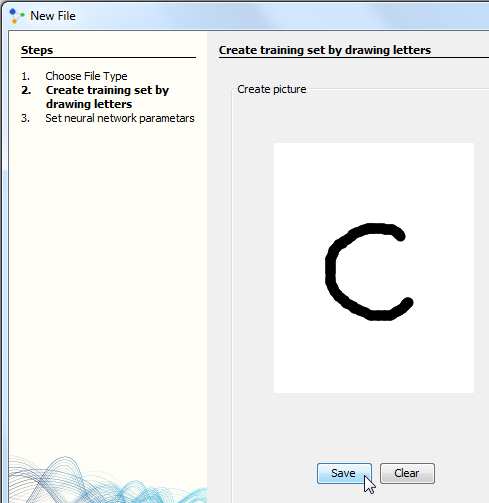
We will draw two different letters 'C' which will be saved with different names in Training Set Picture panel
Now we can create our training set by clicking on File > New File

Step 2. Create neural network
The next thing to do is to create the neural network.

To create the neural network you need to enter the following:
Network label - The label for the neural network, which is usefull when you create several neural networks for the same problem, and you're comparing them.
Transfer function - This setting determines which transfer function will be used by the neurons. In most cases you can leave the default settings 'Sigmoid', but sometimes using 'Tanh' can give you better results.
Hidden Layers Neuron Counts - This is the most important setting which determines the number of hidden layers in network, and number of neurons in each hidden layer. Hidden layers are layers between input and output layer. The trick is to have the smallest possible number of layers and neurons which can succesfully learn the training set. The smaller number of neurons - the faster learning, better generalization. Suitable number of hidden neurons also depends of the number of input and output neurons, and the best value can be figured out by experimenting. For start, try one hidden layer with 26 neurons (there are 26 letters in alphabet).
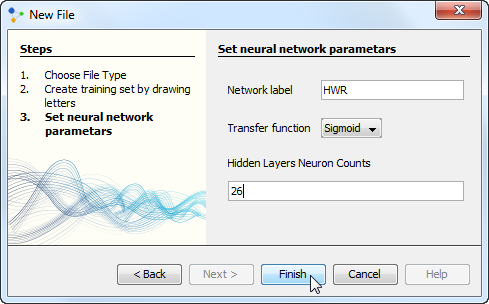
Click the Finish button to create the neural network. After you click the button new window with created neural network will open.
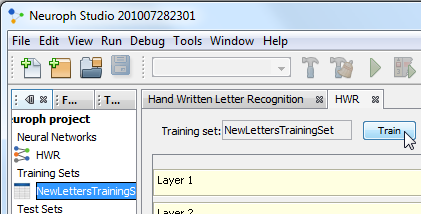
Step 3. Train network
To train the network select the training set from the list and click the 'Train' button.
This will open the dialog for setting learning parameters. Enter the Learning Rate value 0.2 and just click the 'Train' button.
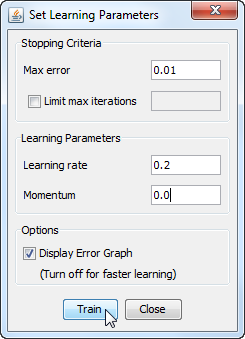
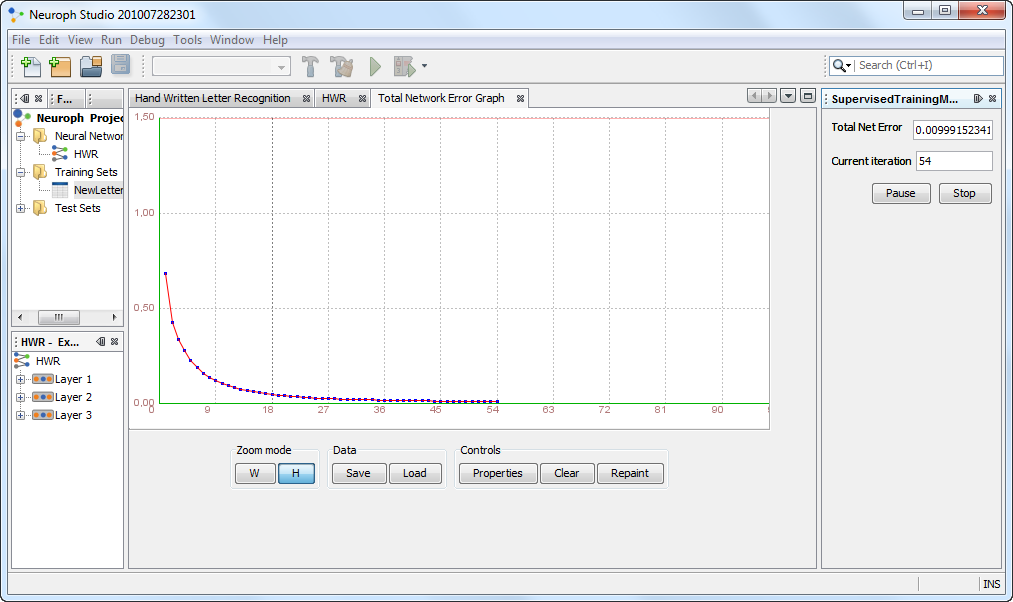
This will start training and open network learning graph and iteration counter, so you can obesrve the learning process. If the learning gets stuck (total network error does not go down), you can try with different number of neurons, layers or learning parameters. For learning rate and momentum use the values between [0, 1] , and for the error some small value bellow 0.1 is recommended.
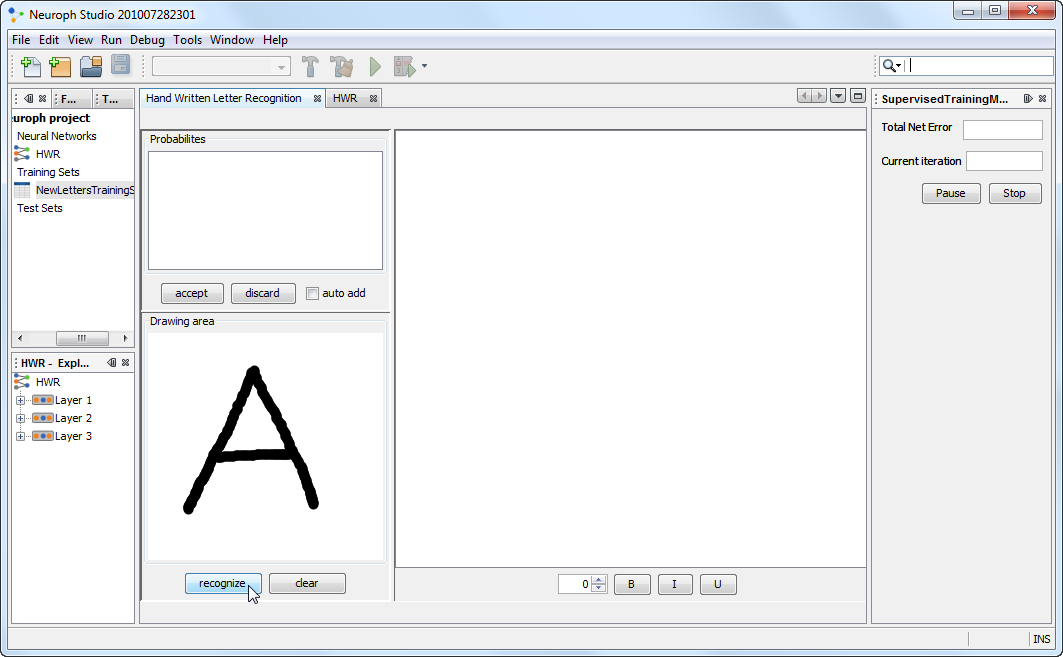
Step 4. Test Network
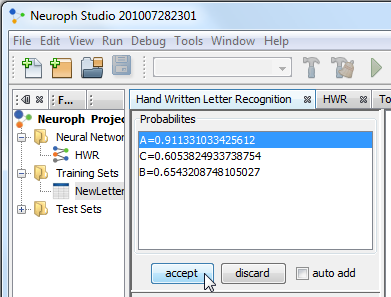
After you have trained the network you can try how it works in the test panel. In the 'Drawing Area' draw letter A and click 'recognize ' button to set input image for the network. The network output will be displayed in the 'Probabilities' area as the list of letter labels and corresponding neuron outputs. The recognized letter corresponds to the neuron with highest output. If the recognized letter is correct click the 'accept' button.
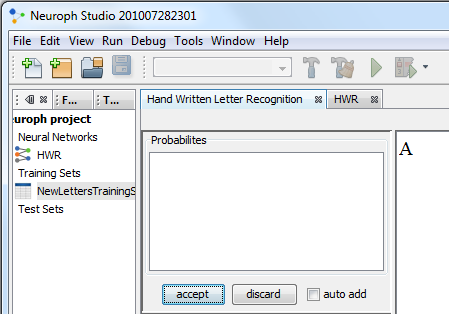
You can test network for letters B and C.
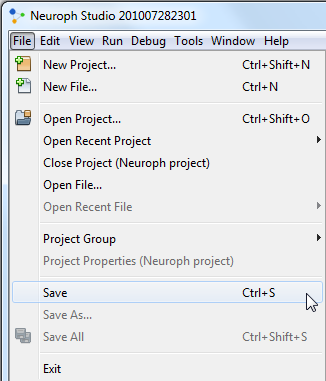
Step 5. Save neural network
To save the neural network as Java component click [Main menu > File > Save] and use the .nnet extension. The network will be saved as seralized MultiLayerPerceptron class.
TODO